ROCK TUMBLING

Here at Tyneside Gemstones we love to collect our own Stones, Crystals, and Gemstones and add them to our Rock Tumblers to bring out their absolutely fascinating secrets that they hide within.

We use large Rock Tumblers that allow us to tumble larger batches of rocks that give us the oppurtunity offer a lot more to our customers at quicker speeds as Rock Tumbling is a slow process.

TUMBLING PROCESS

Rock Tumbling has 4 or 5 Stages to complete depending the level of polish / shine you want to have on your stones. We will go into detail of the below stages, however a lot of people have their own preferred way to tumble rocks, and everyway will be correct for each individual.

Stage 1 - Coarse Grit / Shaping

Stage 1  consists of using a Coarse Grit which is typically either 80 Grit (Which is what we use) or a combination of 60/90 Grit. Stage 1 is typically called the shaping stage as it is the most rough stage on the rocks in order to smooth edges and obtain the shape that you are looking for in the final rock.

You will need to fill the Tumble to 2/3 or 3/4 full with the stones, then add 1 - 2 Tablespoons of Grit per 1lb of Rock and then fill with water until the level is just under the top rocks.

Allow to tumble for 7 days, however some people do a check during this time to see how the rocks are coming along. Once you are happy with the shape of the rocks, remove all the contents from the tumbler through a collander collecting the water/rock liquid into a container. WARNING: DO NOT EMPTY LIQUID INTO DRAINS OR DOWN SINKS, AS IT HARDENS TO A CONCRETE.

Clean off the rocks and check them over, sorting into piles for Stage 2, Redo Stage 1 and Discard. As some rocks tumble better than others, some may need to carry on shaping, some may unusable, or you may not like the rocks and want to remove. Always remember to clean all of the Grit completey from the rocks and also from the Tumbler before proceeding, contamination of Grit between stages can ruin the process or make you need to start again.

Stage 2 - Medium Grit

Stage 2 consists of a Medium Grit rather than Coarse as she shaping has already been done we are moving onto a stage which is to remove any scratches, Cracks, Pits and to create a dull shine when finished.

This is done by using a 220 Grit which is a lot finer that the previous Grit. Again, and extremely important, make sure that the stones go in extremely clean as to not cause any cross contamination of differing Grit.
The Tumbler will need to be filled to around 2/3 or 3/4 full with stones to tumble so that it has enough in not to cause any damage or cracks to the stones with too much space. Why we start with 3/4 full is so that we can lose a little space and it usually ends up somewhere between 2/3 and 3/4. However if required, you can put in with the stones some Plastic Media to top up as required. We will then need to add the Grit which again is 1 - 2 Tablespoons per Lb of Rock and then the water to fill to just under the top rocks.

Once you have filled the barrel with stones, grit and water, and possibly Plastic if required then we are ready to kick start Stage 2 which is another process that can take around 7 days to complete. We would recommend occasionally checking the stones through the process to see if they are ready for you and how you want them or if they need to carry on tumbling.

Once complete filter out the stones and liquid through a colander into a bucket, again DO NOT EMPTY INTO DRAINS. Make sure you clean the stones thoroughly to remove all sources of grit and check the stones over for readiness of Stage 3 or if they need to repeat Stage 2 or be removed. Make sure to clean the barrel thoroughly as well as the lid to remove all grit as we do not want cross contamination.

Stage 3 - Pre Polish

Stage 3 is the Pre-Polish stage where we aim to get the rocks silky smooth and to bring out a luster / shimmer. This is obtained by using a 400 Grit which is a Fine Grit. As previously mentioned we need to clean both the rocks and Tumbler thoroughly to remove any previous stage Grit as contamination is bad.

The Tumbler again needs to be filled to 2/3 or 3/4 full so likely chance we will need to add the plastic media this time round to top up the levels. The plastic media will also assist the polishing and also create a cushion for the rocks tumbling. Once the Rocks are Plastic Media have been added, we will need to add 1 - 2 Tablespoons of the Grit and then top the water level to just under the top rocks.

We now need to put the Tumbler on for another 7 days to complete this stage, again we would recommend keeping an eye on the stones to see how they are progressing during this 7 day period so you can obtain the finish that you are looking for. When you are happy or at the end of the 7 days we will need to empty the liquid through a colander into a bucket outside and not through the drains.

Clean the stones off and seperate from the plastic media which you can re-use again, however we recommend using on the same Stages and some of the Grit can become embedded into the plastic. Check the stones to make sure that you are happy that they progress to Stage 4, some you may keep back for Stage 3 again. As well as last time clean the inside of the Tumbler extremely well to remove any previous Grit ready for the next stage.

Stage 4 - Polish

Stage 4 is the Polishing Stage where we aim to bring out the shine of the rocks and make them absolutely amazing to look at. This is obtained using a Polishing Powder such as Pumice Powder, Zinc Oxide, or Cerium Oxide. Here at Tyneside Gemstones we offer for sale Pumice Powder as it brings a nice polish but is also one of the cheapest Polishing Powders that can be purchased to keep costs down for our Customers it is also the best for Hobby Tumblers. Cerium Oxide is the best to use for the best shine but is also the most expensive, please contact us if you do require Cerium Oxide.

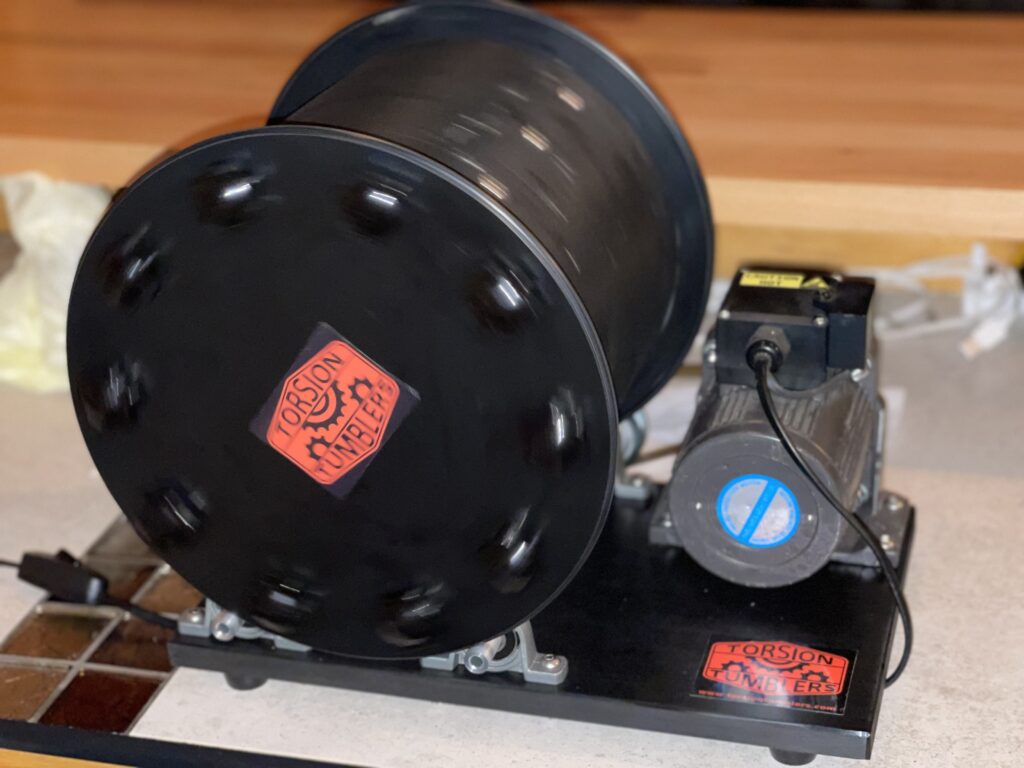
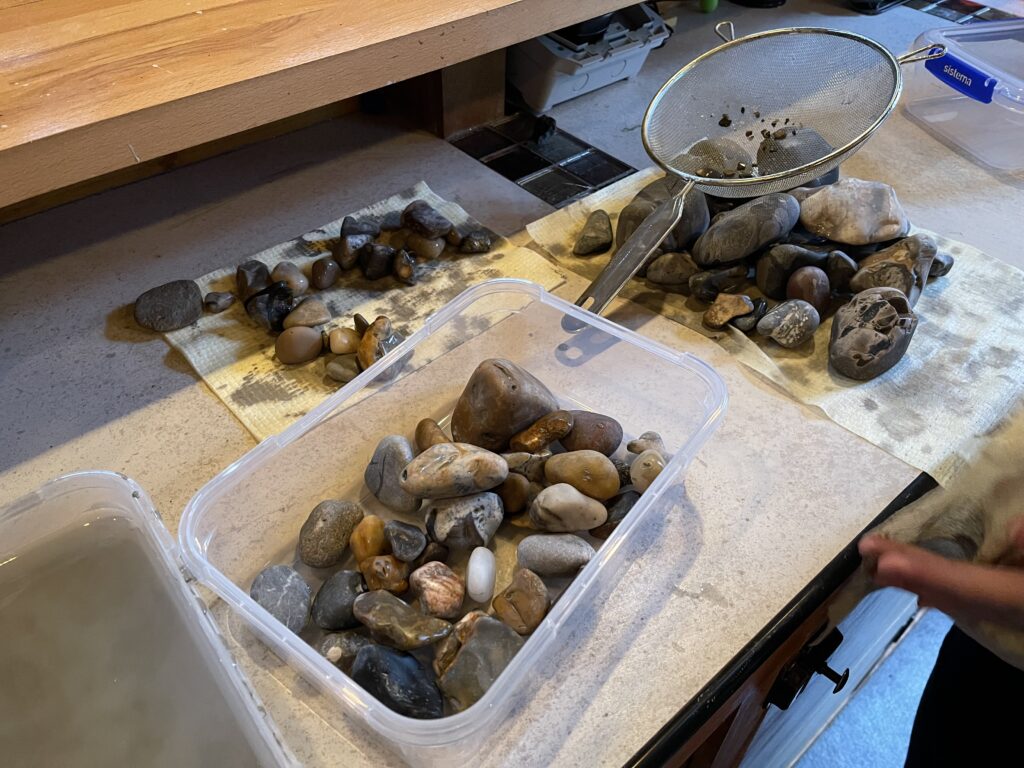
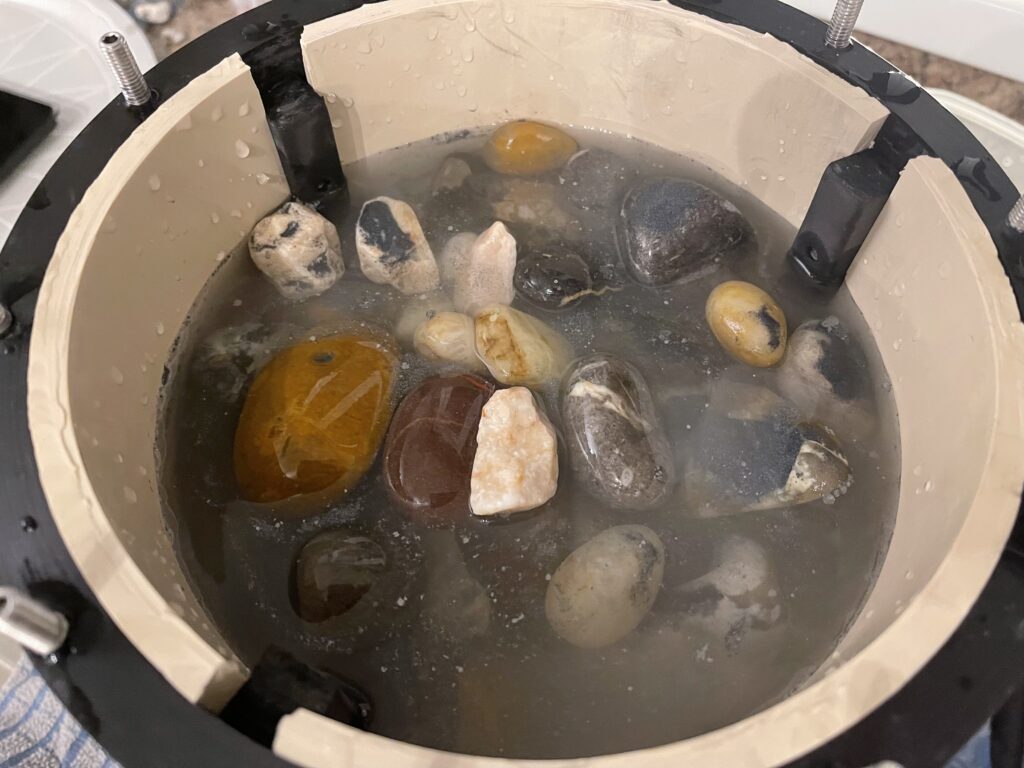
Stage 4 has to be the most important stage to make sure that the Tumbler is cleaned and the rocks, as Grit from previous stages can ruin the finish and the tumble. After everything has been cleaned, add the stones to the Tumbler, and make sure to fill up with new Plastic Media as the plastic media will be a cushion for the stones during the polish and stop them from damaging each other and ruining the finish. Make sure that the rocks and plastic media fill to 2/3 or 3/4 full then add 1 - 2 Tablespoons of Polishing Powder per Lb of Rock, probably the higher amount for polishing. Fill with water again until just under the top rocks.

Once we put these on to Tumble we typically allow 7 days to polish on this stage to get the best results. We can however keep a check on the rocks during the process to see how they are coming along. After the 7 days we need to clean the rocks through a colander again and seperate all of the Plastic Media to be used again on another polish stage, be sure to label them correctly. Still do not put the liquid down a drain, keep stored in a bucket as per previous stages.

Once this stage is complete or you are happy with how the rocks have turned out, there is an optional stage which is the Burnishing Stage.

Stage 5 - Burnishing

Stage 5 is an optional stage which can be done to add more of a Shine / Polish, or can be done if some of the rocks came out extremely smooth but not a lot of shine, they may need this Burnishing Stage to clean them off.

For this Stage we use ORIGINAL Ivory Soap Bar, using a cheese grater we need to grate and use 1/2 - 1 Tablespoon of soap per Lb of Rock. Be sure to use the original ivory soap and confirm that no additives, aloe, or abbrasives as this will damage the rocks. Make sure to use a clean Tumbler for this, fill with Rocks, top up with Plastic Media to around 2/3 or 3/4 full. Fill with warm water to just under the top of the rocks and add all the soap shavings.

This stage can take anywhere from 1 hour to overnight to complete and give the stones a perfect shine and cleam them off fantastically. Once they are ready rinse the rocks through a colander and allow to air dry.
Thank you for taking the time to read the Rock Tumbling process, if you have any questions please feel free to Contact Us Here.

READY TO MAKE A PURCHASE?

Click the link below to browse some of our amazing products and join us in the world of Lapidary.
LET'S GO
linkedin facebook pinterest youtube rss twitter instagram facebook-blank rss-blank linkedin-blank pinterest youtube twitter instagram